Sunday, January 02, 2011
Sunday, January 04, 2009
Monday, November 10, 2008
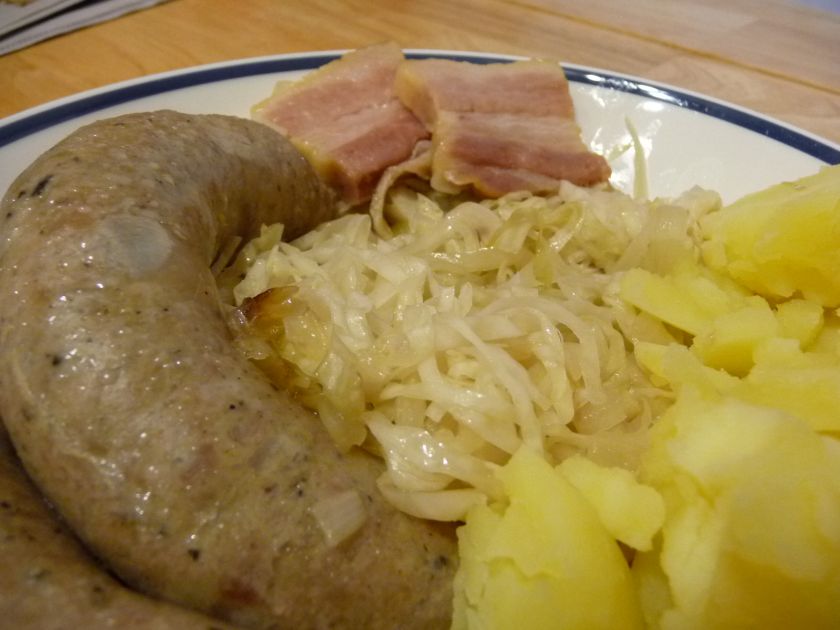
Choucroute garnie for one

I continue to be amazed by the utter transformation that salt, water and time (and our microscopic friends known as lactic acid bacteria) can have on vegetables.
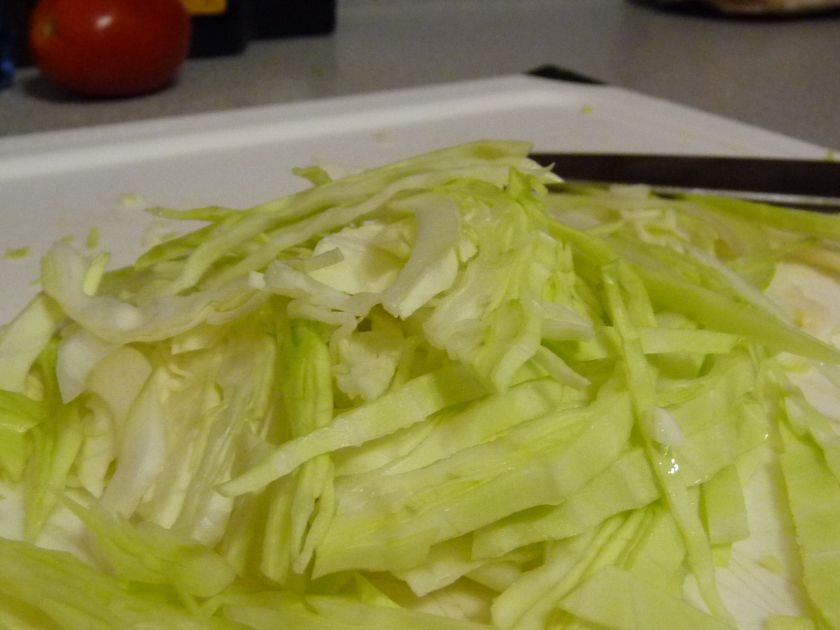
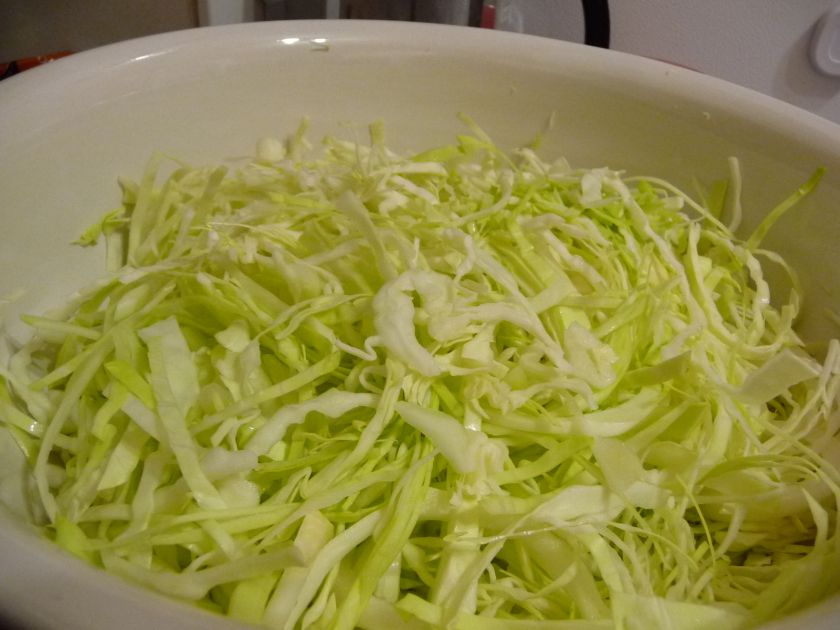
Making sauerkraut at home is easy: just thinly slice a cabbage, submerge it completely in a 5% brine - and I do mean completely; cover it with cheesecloth and weight the whole thing down with a plate, otherwise you'll get nasty mold - and leave it in a cool place for a few weeks.
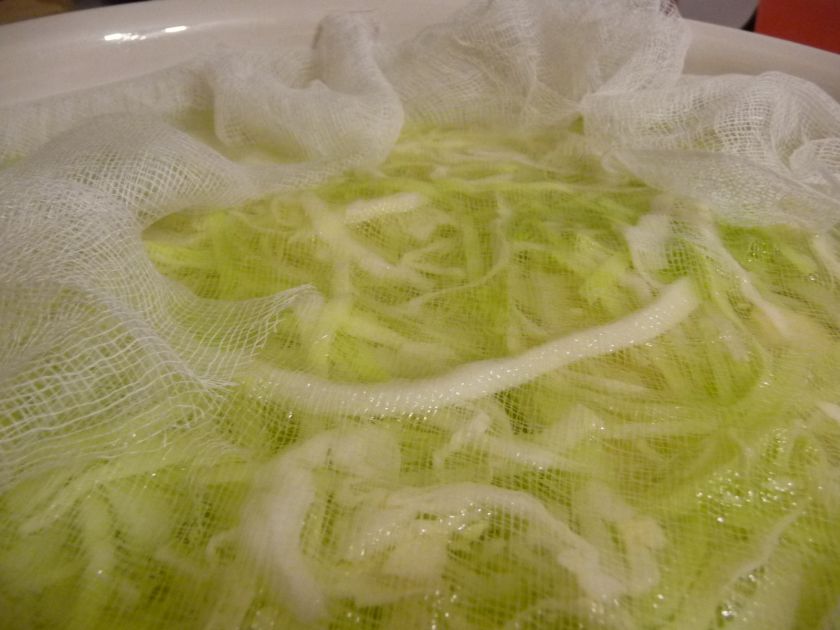
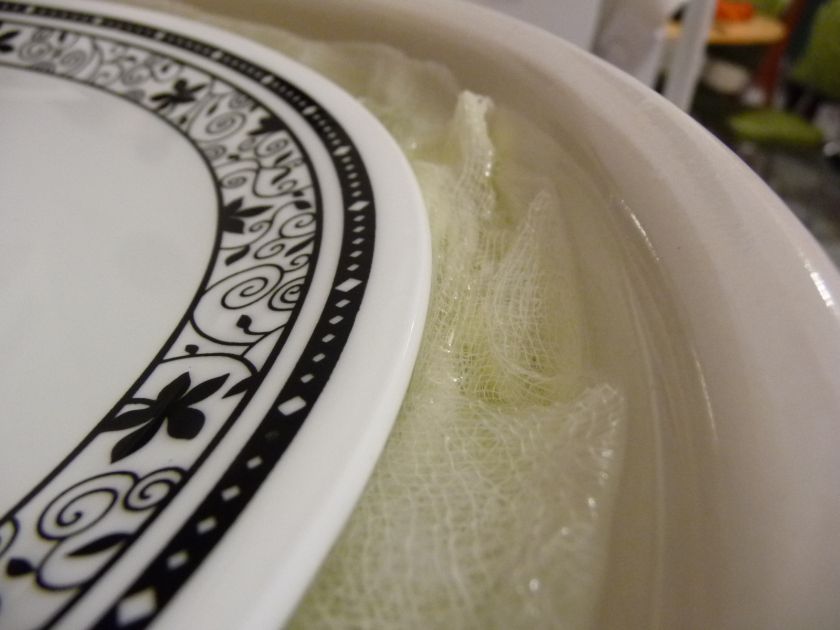
Once it's ready, drain it and boil the brine. Cool the boiled brine and pour it back over the cabbage. Store it in the refrigerator. Making sauerkraut is easy; finding enough room in the fridge is hard.
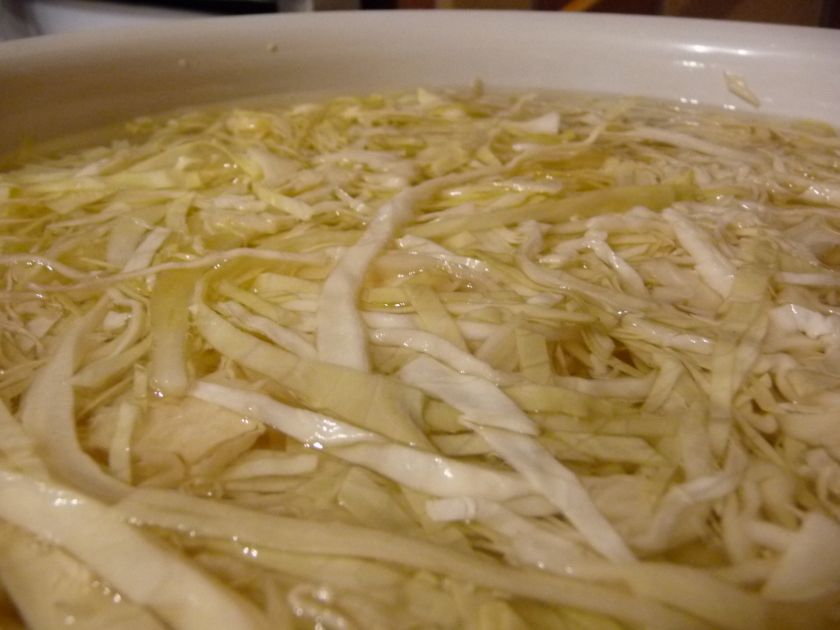
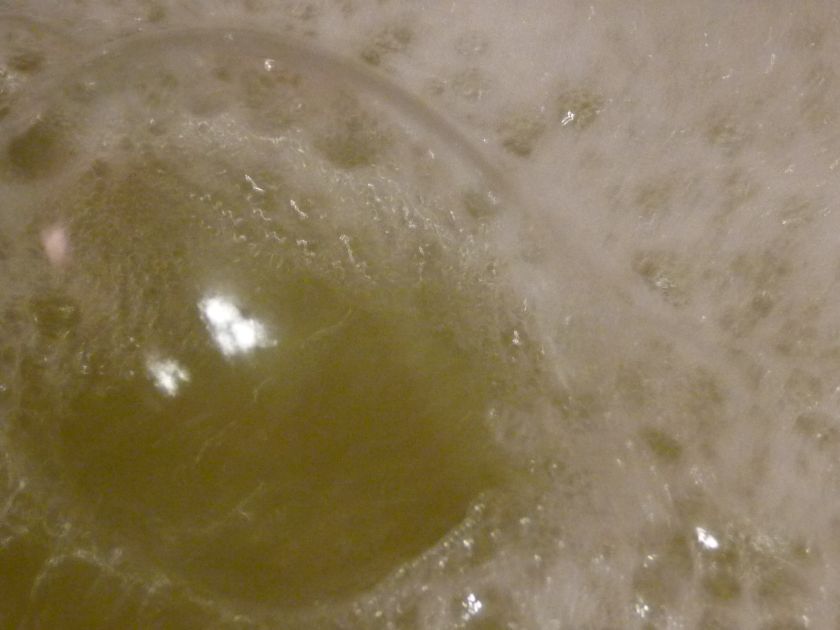
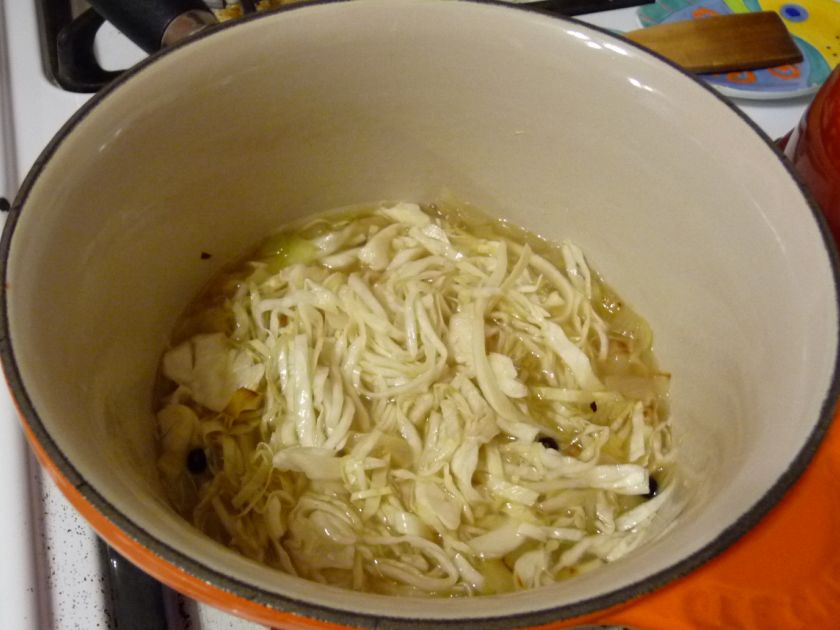
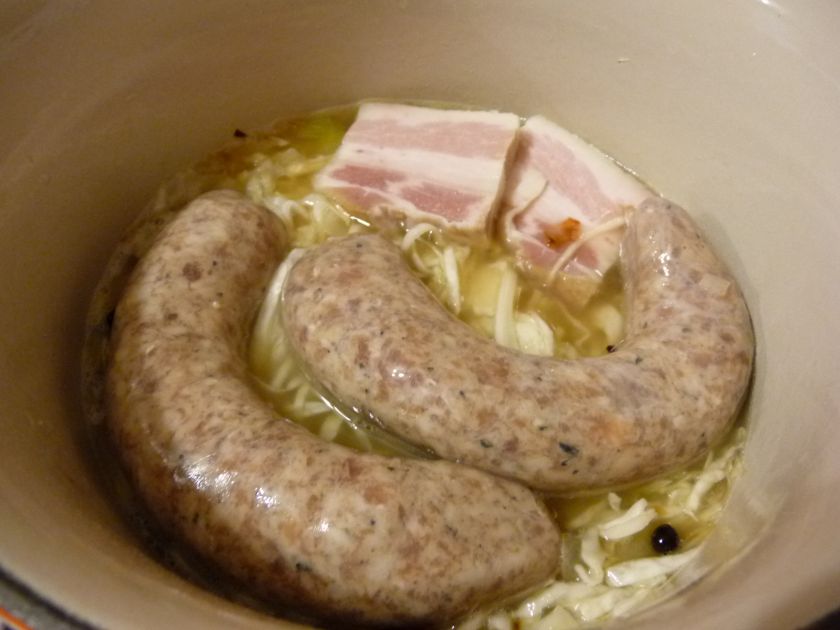
Making sauerkraut is easy, finding people who are willing to eat it can be hard. How did sauerkraut get such a bad reputation? If you, like me, are the only person you know of who enjoys eating sauerkraut, don't let that stop you from making it. Once it's ready, sauté a diced onion and minced garlic clove in some duck fat or bacon fat and add some sauerkraut, a 50/50 mix of brine and chicken stock just to cover, and some spices: juniper berries, coriander and bay leaves are all good. Nestle a sausage or two into the sauerkraut bed, along with two thick pieces of home-cured, unsmoked bacon. Bring to a simmer, then braise in the oven at 300F for 30 minutes. (If you like your sauerkraut softer, braise it for longer on its own, then add the meats about 20-30 minutes before serving.) Serve with boiled potatoes and sharp mustard.
Tuesday, November 04, 2008
Thai red curry paste
Take Thai curry pastes. I recently found myself with a small pile of red chillis left over from a farmers' market purchase and, in an effort not to let them go to waste, I decided to make red curry paste. This is not necessarily a straightforward enterprise. Most of the Thai cookbooks I've looked at don't include recipes for curry paste; they all seem to recommend using the purchased product. For that matter, many Thai restaurants use commercial pastes, though I'm sure the best ones make their own.
Instead, the recipe I used comes from the Chez Piggy cookbook, which is quite global in its outlook. It notes that finding some of the ingredients may be a bit of a challenge, and boy was that true: they range from the relatively run-of-the-mill shallots and garlic, to the slightly more unusual, but still findable, lemongrass and kaffir lime leaves to the completely obscure kaffir lime rind and coriander roots. I managed to locate most of these ingredients at our local Asian market, at a total cost of about $15 - my husband loves it when I spend that kind of money so as not to waste $1.50 worth of chillis.
(Fortunately, the recipe also gives substitutions for some of the more obscure items. For instance, I used normal lime zest instead of kaffir lime rind, and extra coriander stems in place of the coriander roots.)
Once you have all of the ingredients, you then have to prep them, which is the other warning given in the book: it's time consuming. If you're looking for an excuse to practice your knife skills, this is a great way to do it! Here's the mise en place for Thai red curry paste.
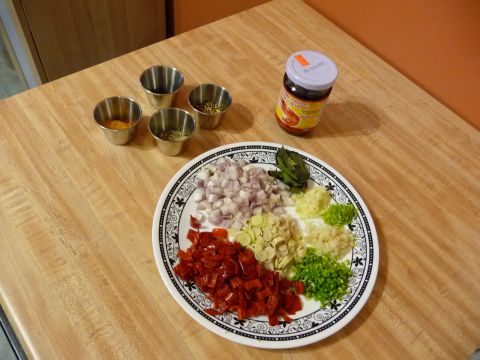
(I admit that it might have taken me longer than absolutely necessary to prep everything, since I wanted to make it look nice for this photo.)
Once you've leapt the hurdles of locating the ingredients and cutting them up, though, everything gets easy: toss all the wet ingredients into the blender and blend them to a smooth paste, then add the spices and shrimp paste and blend again to combine. Freeze the result, and you're done. I wrapped the paste in plastic wrap and rolled up into a log shape to make it easy to hack off the portion I want to use.

Red curry paste has several uses - for example, it appears in one of the best peanut sauces I've ever tasted - but it seemed most appropriate, for my first use of the new paste, to make a simple red curry dish with coconut milk, chicken and pineapple. The homemade curry paste wasn't as spicy as the commercial ones I'm used to (although the chillis were definitely very spicy on their own!), but it was much more fragrant and complex. I wouldn't say that I like the homemade version better than the commercial ones, but it's definitely different, and definitely good.
Monday, October 06, 2008
Peanut brittle
The recipe I use is from David Lebovitz's The Perfect Scoop, mostly because I know where to find it! I'd be surprised if I didn't have other recipes for it elsewhere in my cookbook collection, but this one has been consistently successful for me, so it's the one I turn to. It's pretty heavy on the peanuts compared to some I've eaten (presumably because it's meant to be an ice cream mix-in), so I imagine you could cut back if you want a higher candy-to-nut ratio.
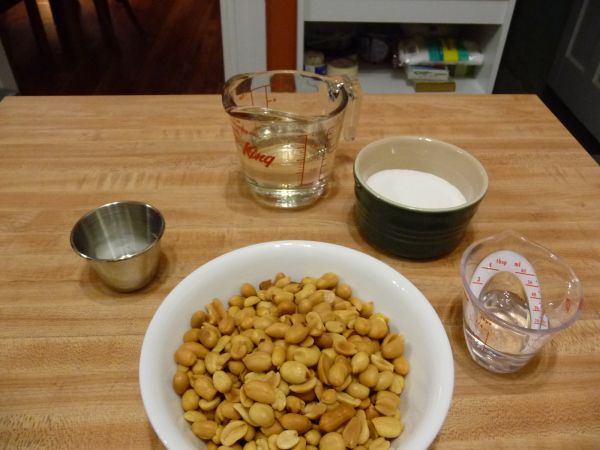
First, assemble your ingredients. Clockwise from top: 1/2 cup corn syrup, 1/2 cup granulated sugar, 2 Tbsp. water, 1.5 cups peanuts, 1/2 tsp. baking soda. Make sure you have a sheet pan standing by, lined with a silicone baking mat.
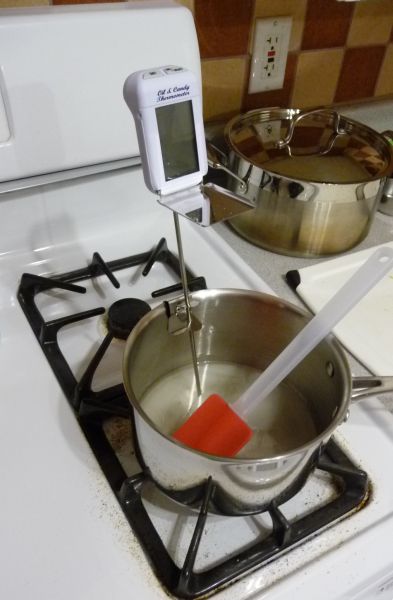
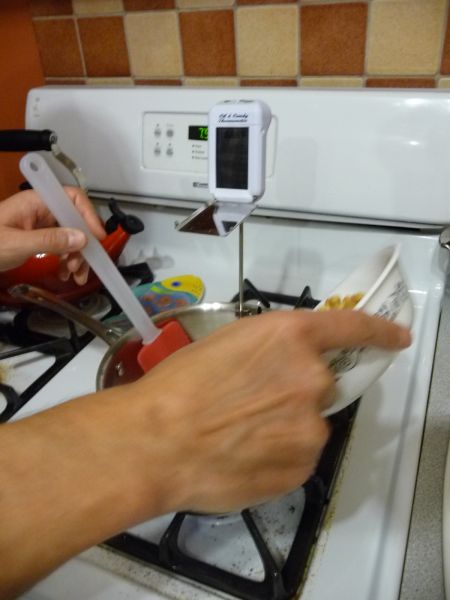
Attach your candy thermometer to a medium saucepan and add the corn syrup, sugar and water. Bring it all to a boil.
Once it's boiling, add the peanuts.
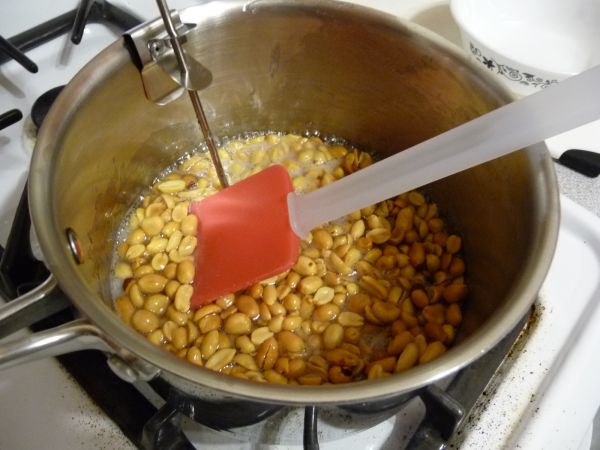
Stir them in (I'm using a silicone spatula here) and keep stirring until the mixture reaches 300F to 305F, being careful not to let the peanuts burn!

Once it reaches 300F to 305F, remove it from the heat, add the baking soda and stir well. The mixture should start to foam.
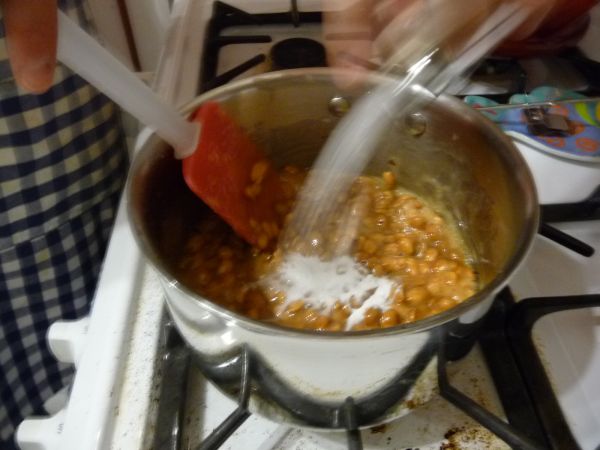
Quickly pour the candy onto the prepared sheet pan...
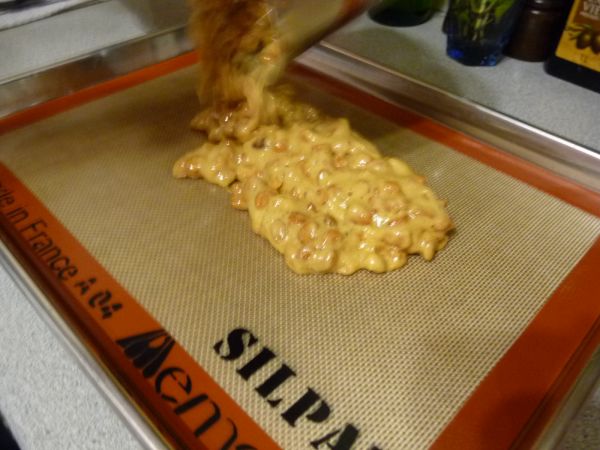
...and spread it out as thin as you can. It will start to harden pretty quickly as it cools.
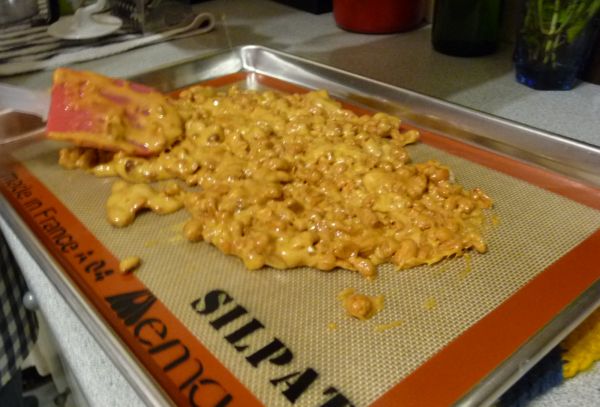
Once it's spread out, wait for it to cool completely, then break it into pieces and enjoy!
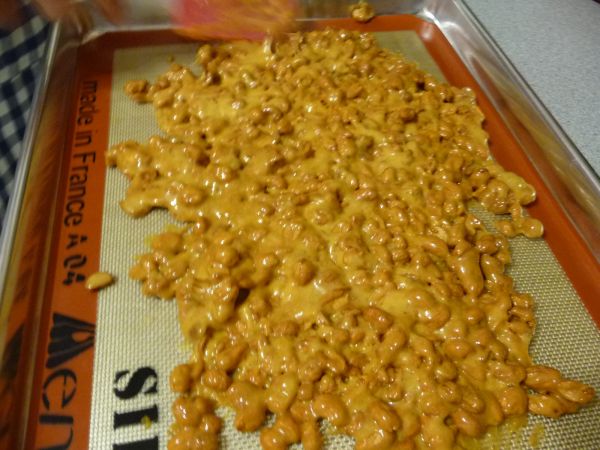
If you've never made candy before, this is a great place to start, because it's not finicky, and presentation isn't a big deal, since it's just going to end up broken into irregular pieces anyway. And if you still want to spend money at Williams-Sonoma (or your favourite kitchenwares store), you can always pick up a candy thermometer!
Wednesday, October 01, 2008
Concord Grape Fruit Jellies
This summer has been very rainy around here, so when I asked my favourite fruit vendor at the farmers' market about Concord grapes, they were a little skeptical. "They need more sun! Ideally about 10 days more. Check back in two weeks." Two weeks later, still no grapes. Fortunately, the entire week after that was warm and sunny, so I finally laid my hands on some Concord grapes last weekend.
You may not know it, but you're already familiar with the taste of Concord grapes. Think Welch's grape juice or grape jelly. In fact, given how incredibly "grapey" the flavour is, I have a hard time believing anyone would bother using artificial grape flavouring.
A fresh, whole Concord grape is a slightly different matter. They don't smell like Welch's. They have an aroma that's musky and wonderful and all its own, that can be detected from several stalls away at the market: I knew the grapes were in before I even saw them. These grapes are not the easiest to eat, either, though they taste great. The skins have a tendency to slip off easily, but the flesh clings tightly to the seeds. Yes, grapes with seeds!
We bought 10 litres.
The first 8 were destined for grape jelly, which went off without a hitch. Grape jelly is easy, if you're comfortable making jam: take 4 pounds of grapes and half a cup of water. Crush the grapes and simmer for 10 minutes with the water. Strain through a jelly bag (without squeezing, if you want a clear jelly), then measure out 4 cups of the juice. Put in a pot with 6¾ cups of sugar and bring to a good rolling boil. Then add a pouch of liquid pectin, boil for 1 minute, and pour into sterilized jars and seal. The hardest part is waiting for the juice to strain.
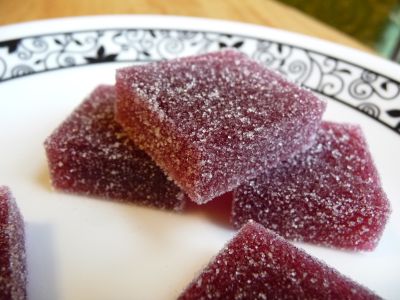
The rest of the grapes were a bit more of a personal challenge. You see, during Concord season last year, I tried to make the grape jellies, also known as pâte de fruit, from The French Laundry Cookbook. I followed the recipe as closely as I could, but the end product was an indistinct mass of grape-flavoured ooze. (Apparently, I'm not the only one to have this problem.)
So I spent the intervening year doing a little research so that I would be ready when grape season rolled around again. I decided that the jellies needed to be cooked to a slightly higher temperature than is specified in the recipe: it calls for 219F, but the consensus seemed to be that 224F was closer to the mark for a standard fruit jelly recipe, so that's what I did.
The end result was certainly far from perfect, but it was a vast improvement over last year. For one thing, this year's batch of jellies can be picked up in your fingers, rather than having to be eaten with a spoon. The flavour is great, but the texture is a little too firm. Next year, I'll try it at 223F and see how it goes. Which really gives me a good reason to look forward to Concord grape season next year!
Friday, August 29, 2008
Liqueurs: Limoncello, damson gin and beyond
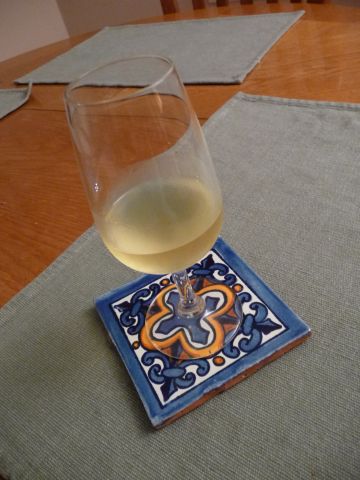
So it turns out that distilling alcohol at home is technically illegal, which somewhat limits your options for making your own hard liquor. Only somewhat, though, because modern bar culture has spawned a wide variety of often fancy bottles that all hold what is essentially a blank canvas: vodka. Lacking a still, vodka is the next best thing you can use to make your own booze.
Vodka, being essentially a mix of water, ethanol and nothing else, is a great tool for extracting flavour out of other foods. Because of its chemical structure, ethanol can dissolve both water- and oil-soluble flavour compounds. (You can read more about this here.) In practical terms, this means that if you add an aromatic foodstuff to vodka and leave it to sit for a few weeks, you usually wind up with something that's pretty tasty.
I've written briefly about alcohol extractions once or twice before, but bitters and vanilla extract are not intended to be drunk on their own. The same principles apply to liqueur-making, though. (Indeed, there's no reason you couldn't make vanilla-flavoured vodka!) I've made several liqueurs in the past, but the most recent was limoncello. There's a great, detailed limoncello thread on eGullet that provides you with all the details you need to make this delicious post-prandial libation, but the basics are these: zest a bunch of lemons into some vodka, let it steep for a few weeks, filter, sweeten to taste, then top up with additional vodka to bring the alcohol percentage up to 30% for stability.

Ideally, you want to be working with 50% abv vodka, but I don't have access to any at a reasonable price, so I've been using "Prince Igor Extreme" vodka from Kittling Ridge which, despite the fratboy connotations of the "Extreme" moniker, is actually a quality product that's affordable and clocks in at 45% abv.
I recently finished my first batch of limoncello, and although I'm not blown away by the results - I blame mediocre lemons - I'm impressed enough that I'll be making it again as soon as this batch runs out. After that, I may try some variations: I'm thinking a spiced Seville Orangecello might make a nice Christmastime treat.
In the past, I've also made blueberry liqueur, damson gin (also based on an eGullet recipe) and, more recently, I put some sour cherries and sugar into gin, to produce both gin-soaked cherries and cherry-flavoured gin. To those of you who might object that gin is not vodka, I should point out that gin is basically just the original flavoured vodka, where the flavour in question is predominantly juniper.
To learn more about making liqueurs at home, check out the eGullet threads mentioned above, plus this one.

